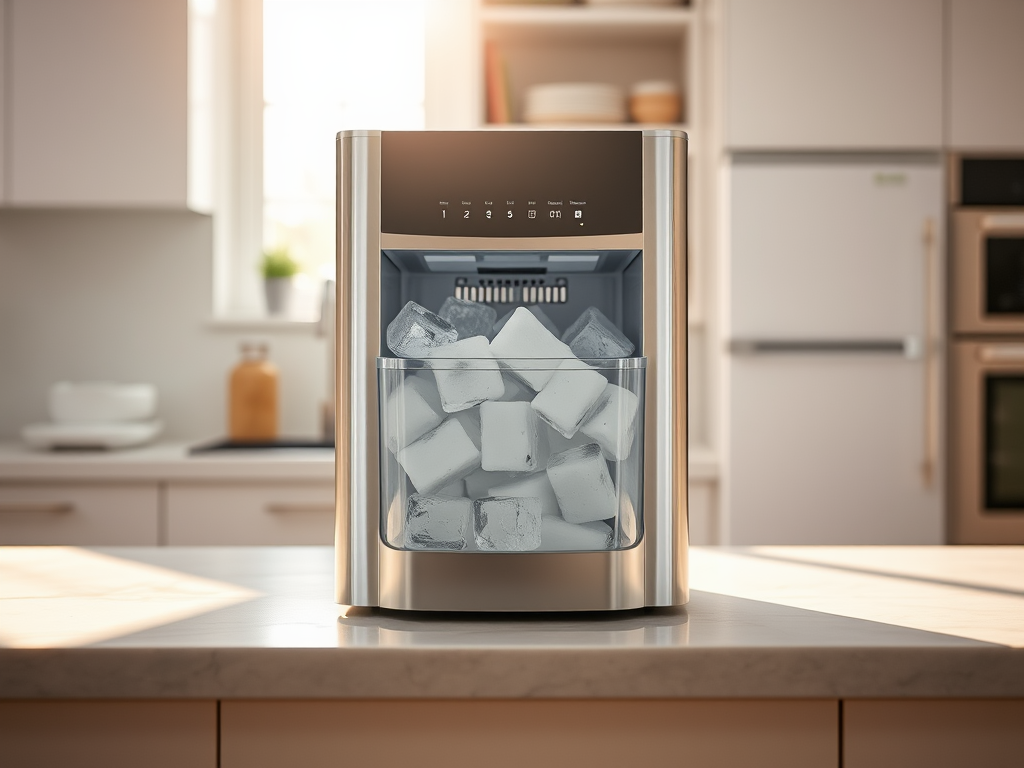
Cleaning your ice maker is a task that often gets overlooked, yet it’s vital for maintaining its efficiency and the quality of the ice it produces. A dirty ice maker can lead to numerous problems, including unpleasant odors, contaminated ice, and even machine malfunctions. This guide will provide a comprehensive yet quick reference for ice maker cleaning, ensuring you enjoy crystal-clear, fresh ice every time. Armed with the right techniques and tools, you’ll ensure your appliance runs smoothly and hygienically. With just a little effort, you can easily reap the benefits of a sparkling clean ice maker.
Neglecting to clean your ice maker can lead to an accumulation of deposits and possible bacteria, which might taint the very ice you expect to be refreshing. By regularly cleaning both the interior and exterior of your ice maker, you’re taking a proactive step towards preventing these issues. Not to mention, a clean machine is a happy machine! So, whether you use it frequently for entertaining guests or just for your daily refreshing drink, it’s important to maintain its cleanliness. This article not only outlines the essential steps for thorough cleaning but also emphasizes the importance of regular maintenance.
Understanding the Importance of Cleaning Your Ice Maker
Regular cleaning of your ice maker brings a multitude of benefits. It enhances the appliance’s performance, allowing it to produce ice more efficiently. Moreover, a clean machine safeguards the health of everyone who consumes the ice, as dirty ice can harbor harmful bacteria. Additionally, a well-maintained ice maker is likely to have a longer lifespan, saving you money on potential repairs or replacements. With this in mind, it’s crucial to integrate cleaning into your routine to keep your ice maker in top condition. Ultimately, investing time in this task will yield fresh, amazing ice for all your needs.
Gathering Necessary Supplies
Before diving into the actual cleaning process, gathering all necessary supplies can help streamline the experience. Here’s a quick list of items that will aid you in cleaning your ice maker effectively:
- White vinegar or a specialized ice maker cleaner
- Soft cloths or sponge
- Bucket or large bowl
- Warm water
- Screwdriver (if necessary for disassembly)
Having these tools on hand ensures you won’t need to run back and forth during the cleaning process, which can lead to losing focus. Each item plays a crucial role in effective cleaning, from the cleaning solution to the cloths that will apply it. And remember, the quality of your supplies can impact both your effectiveness and the safety of the process. Once you’re equipped with the essentials, you’ll be ready to follow the steps that ensure your ice maker shines.
Step-by-Step Cleaning Process
Preparing Your Ice Maker for Cleaning
The first step in cleaning your ice maker involves preparing it properly. This preparation is aimed at ensuring the process can be safely and effectively carried out. Start by turning off the ice maker, which typically involves either a switch or a control panel. Next, unplugging the unit is often a good idea to prevent any electrical issues while cleaning. Once you have safely powered down the machine, empty any remaining ice from the bin. This step is critical as it allows you to access all surfaces that require cleaning.
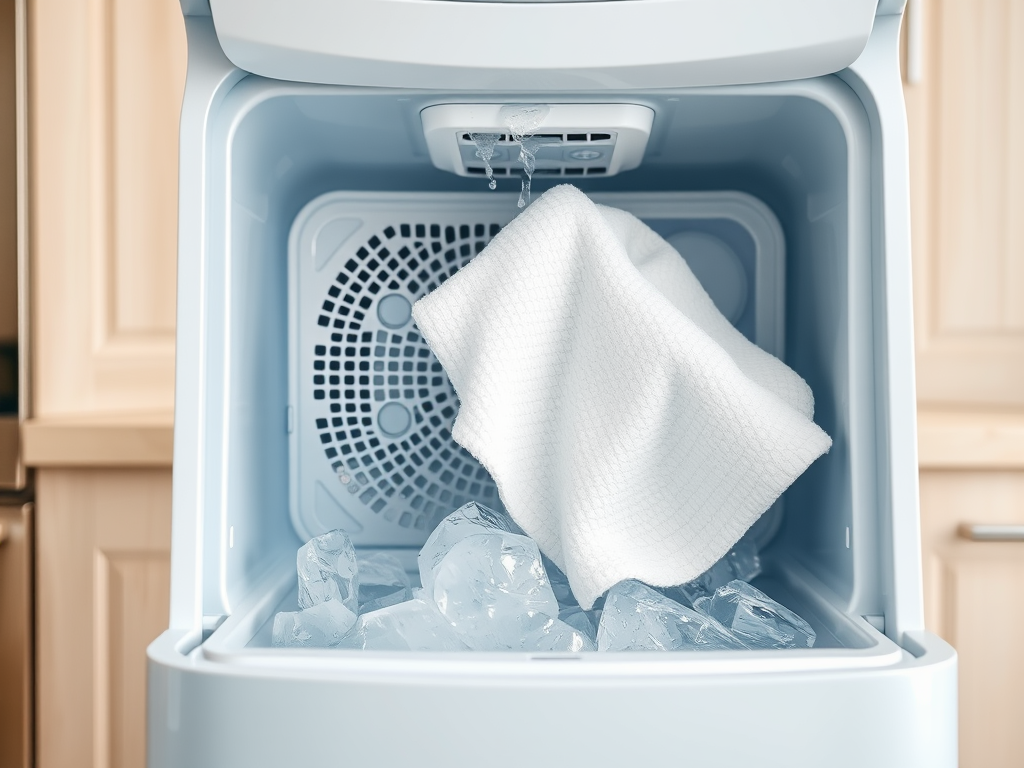
Cleaning the Ice Maker Interior
Now that your ice maker is prepared, it’s time to tackle the interior cleaning. Begin by mixing a cleaning solution using warm water and white vinegar or the designated ice maker cleaner you gathered earlier. An ideal ratio involves equal parts of vinegar and warm water to create an effective cleaning solution. Using a soft cloth or sponge, wipe down all the interior surfaces carefully, ensuring to clear away any buildup or residue. Don’t forget to focus on corners and crevices where grime tends to accumulate.
After you’ve thoroughly cleansed the surfaces, it is imperative to rinse all areas with clean water to eliminate any remaining cleaning agents. This step ensures that your ice is free from any unwanted tastes or odors. If necessary, repeat the process for especially stubborn stains or deposits. Once the interior is sparkling again, you’re set to proceed with additional cleaning tasks.
Descaling Your Ice Maker
Descaling your ice maker is essential to maintaining its efficiency and preventing mineral buildup. Follow these effective steps to ensure your machine remains in great working condition. Begin by pouring the descaler—whether it’s a commercial product or your vinegar solution—into your ice maker, following the manufacturer’s instructions to avoid damage. Allow the solution to sit inside for the recommended time, typically between 10 to 15 minutes, allowing it to work on the buildup.
After the internal components have been treated, it’s important to conduct a cycle to flush out the descaler. This may necessitate running the machine without any ice to clear the solution. Subsequently, run several cycles of plain water to ensure all traces of the descaler are properly rinsed away. This not only protects the quality of the ice produced but extends the life of your machine.
| Cleaning Task | Frequency |
|---|---|
| Deep Clean | Every 3-6 months |
| Descale | Every 6 months |
| Check Condition | Monthly |
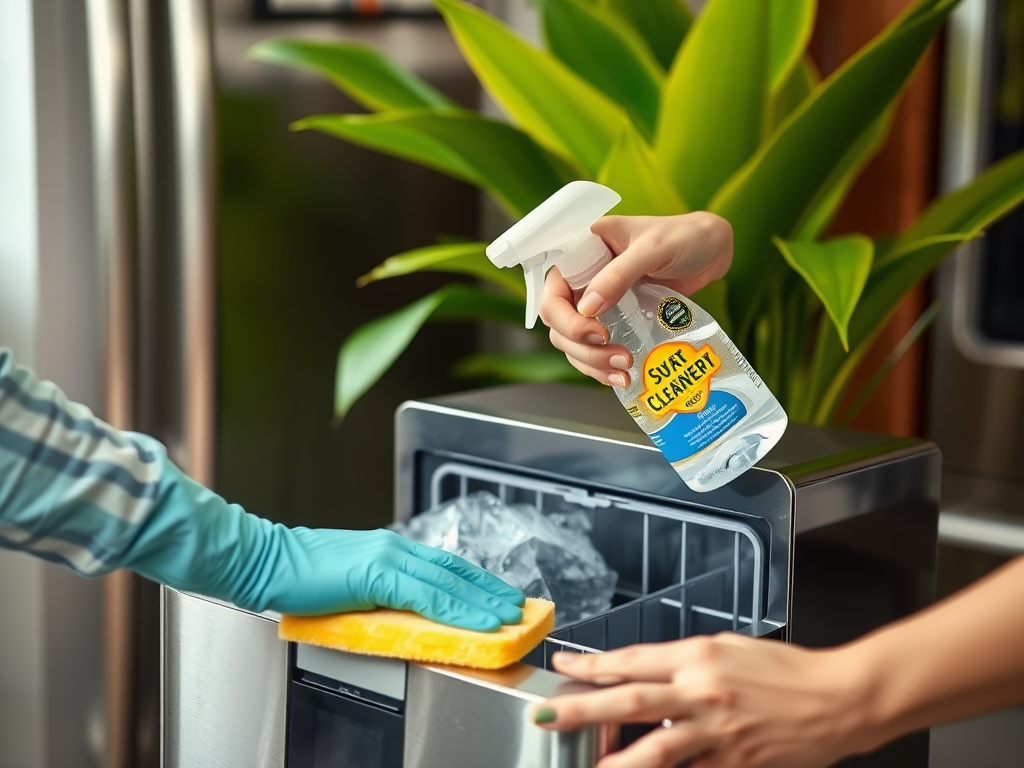
Cleaning the Exterior and Surroundings
While the interior is crucial, addressing the exterior of the ice maker is equally important. The outside unit often collects dust and grime that can harbor bacteria. To keep your appliance looking pristine, start by wiping down the outside surfaces with a mild detergent and soft cloth. This simple action prevents residue buildup and can enhance the overall appearance of the ice maker.
Additionally, don’t overlook the area surrounding the ice maker. Cleaning the surrounding space ensures that dust or spills do not contribute to mold growth on or around the unit. Regularly attending to these areas means guests will not only appreciate the quality of the ice, but they’ll also admire your attention to detail in keeping the appliance clean and inviting.
Conclusion
Cleaning your ice maker isn’t just a task—it’s a vital chore that guarantees the machine operates effectively while producing safe and clean ice. The steps provided in this quick reference guide arm you with the knowledge to keep your ice maker in top shape. Through regular maintenance and deep cleaning, you enhance the machine’s performance and ensure the health of those enjoying your beverages. Taking the time to follow these routines will reward you with fresh, delicious ice right when you need it. It’s a small investment of time that pays off big in terms of convenience and safety.
Frequently Asked Questions
- How often should I clean my ice maker? It is recommended to clean your ice maker every 3-6 months, or more frequently if used often.
- Can I use bleach to clean my ice maker? No, it is not advisable to use bleach as it can leave harmful residues. Stick to vinegar or a designated cleaner.
- What should I do if my ice maker smells? A bad odor may indicate the need for cleaning or that ice has been left in the bin too long. Clean it thoroughly to eliminate odors.
- Is it necessary to unplug my ice maker before cleaning? Yes, for safety reasons, make sure to unplug the ice maker before starting the cleaning process.
- How can I prevent mold in my ice maker? Regular cleaning and making sure the ice is used frequently can help prevent mold buildup.