Have you ever considered making your own soy candles? These little beacons of light bring warmth to a room and fill the air with delightful fragrances, making them a fantastic addition to any home. Not only are they an eco-friendlier alternative to paraffin waxes, but homemade soy candles also offer endless customization options. This article will guide you through the simple steps of making soy candles, ensuring you get all the know-how for a successful DIY candle-making experience. Whether you’re just getting started or are looking to sharpen your skills, this guide to homemade candles is the perfect place to ignite your creativity.
Understanding the Basics of Soy Candle Making
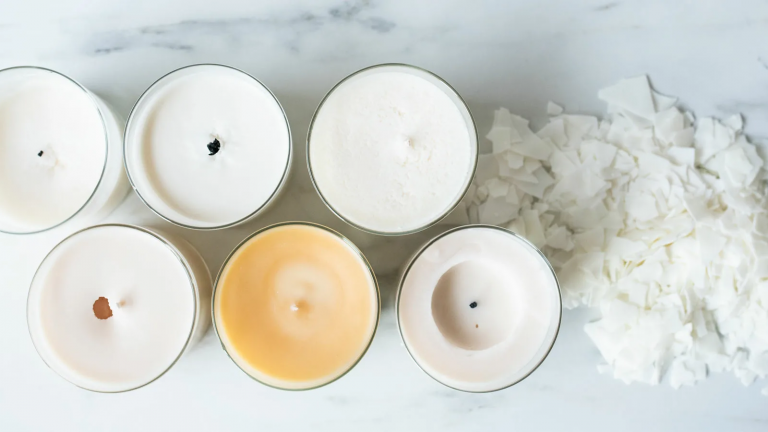
Soy waxes have become increasingly popular as a natural alternative to traditional paraffin waxes. Derived from soybeans, soy wax is renewable, biodegradable, and burns cleaner, which means fewer soot particles are released into the air. This creates a healthier environment in your home and a longer burn time for your candles. Soy candles are not only better for the planet but by making your own soy candles, you’re also indulging in a craft that’s both sustainable and enjoyable.
Essential Tools and Materials for Your Soy Candle Project
Here’s what you will need to get started on your candle-making journey. Ensure to have all these items handy, making sure you’re prepped and ready to kickstart the process of making homemade soy candles.
- Soy wax flakes
- Cotton wicks
- Wick holders or adherent materials
- Fragrance oils or essential oils
- Heat-resistant containers (glass jars or tins)
- A double boiler or melting pot
- Thermometer
- Stirring utensil (e.g., a wooden spoon)
- Pouring pitcher
- Protective gloves
Step-by-Step Guide to Crafting Your First Soy Candle
Begin by choosing a clean and clutter-free area to work in. Cover your surface with newspaper or a drop cloth to catch any potential spills. Safety should be your top priority, so make sure the area is well ventilated and free from any flammable items. Keeping your workspace organized during the candle-making process will help ensure that everything goes smoothly and safely.
Melting Your Soy Wax Like a Pro
The first crucial step is to properly melt the wax flakes. Fill the bottom pot of your double boiler with water and place it on the stove. Put your soy wax flakes in the top pot or a heat-safe bowl sitting on top of the boiling pot. Over medium heat, allow the wax to melt, stirring occasionally. Use your thermometer to monitor the temperature; it should reach about 170-180 degrees Fahrenheit but not exceed 185 degrees. This ensures the wax is hot enough to bond with the fragrances without being too volatile.
Selecting and Adding Fragrances
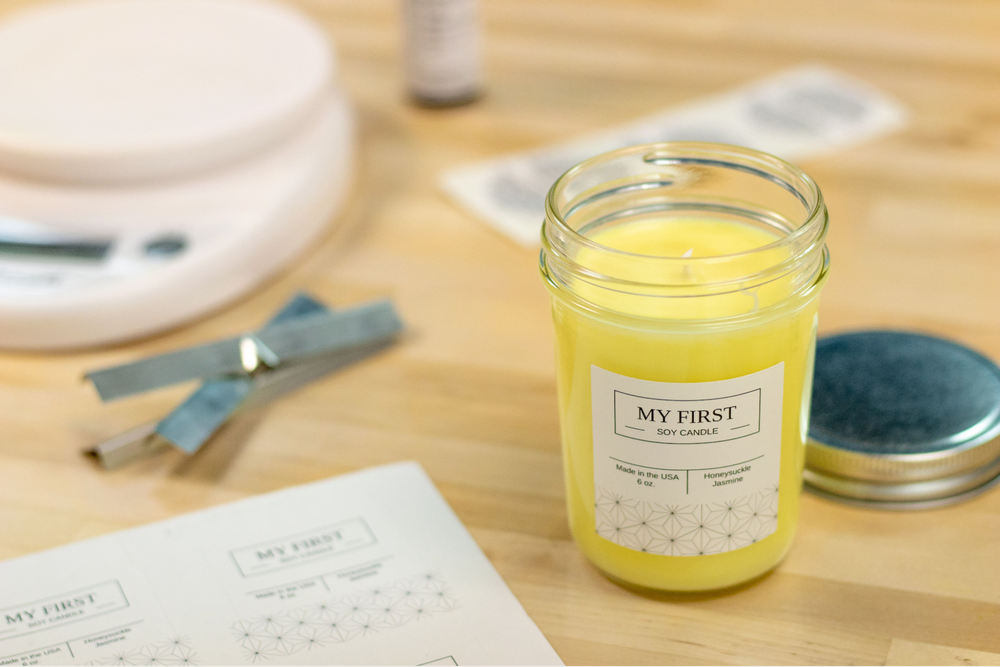
Choosing the best fragrance oils or essential oils for your candle can be influenced by the mood you want to set or the season. Before adding fragrance to the wax, make sure it has completely melted and reached the right temperature. After ensuring this, pour in the fragrance oil and stir thoroughly for at least 2 minutes to evenly distribute the scent throughout the wax. This will give your homemade candles a good scent throw.
The Right Way to Use Wicks
The wick is the heart of the candle, and its proper placement is crucial for an even burn. Wick sizes vary, so choose one that matches the size of the container you’re using. Secure your wick to the bottom of the container using a wick holder or adhesive. To keep the wick centered while the wax cools, you could also use a wick centering tool or simply wrap the top end of the wick around a stick or pencil that sits atop the container.
Pouring and Curing Your Soy Candles
Once your wax is infused with fragrance and your wick is secured, it’s time to pour the wax into your container. Waiting until the temperature drops to about 135 degrees Fahrenheit will ensure a smoother top and reduce the chance of cracks. Once poured, let your candles cool at room temperature away from direct sunlight or drafts. The curing process takes about 1-2 weeks, allowing the wax and fragrance oils to bind and the scent to mature, providing a more robust fragrance once lit.
Customizing Your Soy Candles
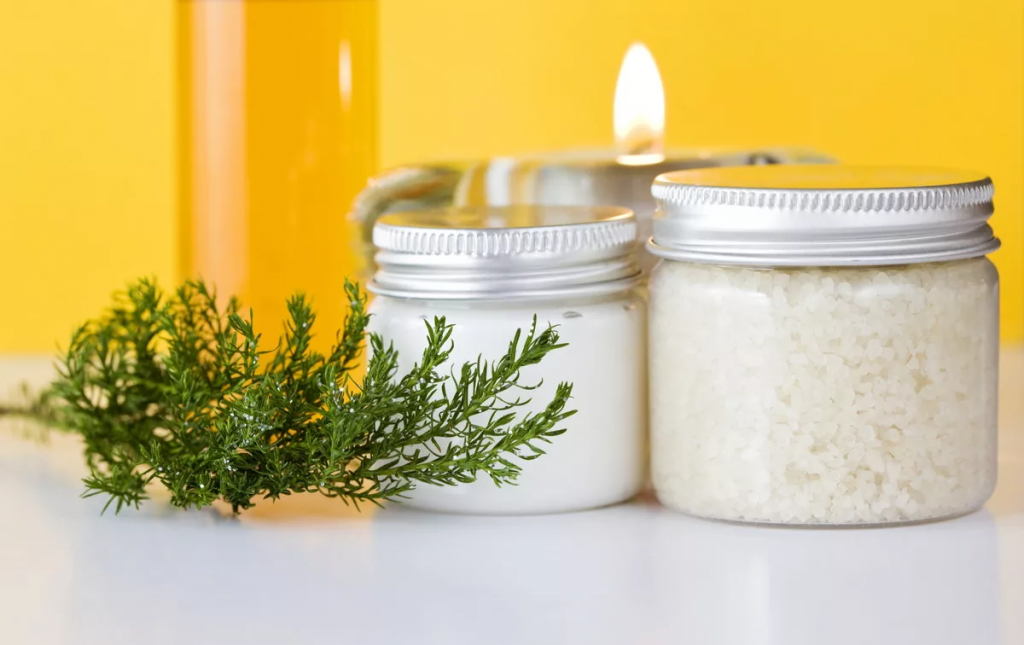
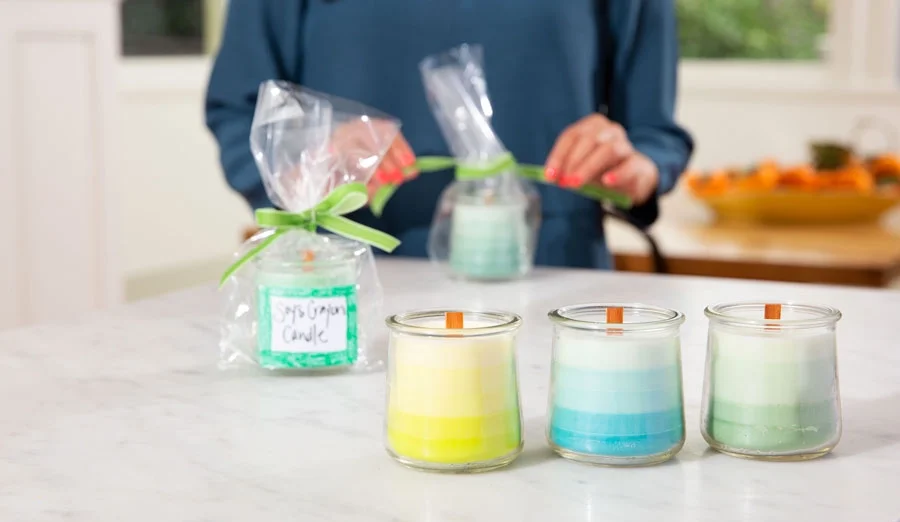
Making homemade candles allows you to personalize every aspect of the process. Add dyes to the melted wax for a splash of color, embed dried herbs or flowers for a natural touch, or experiment with layering different scents for unique combinations. With so many possibilities, homemade soy candles can truly reflect your personality and style.
Packaging and Storing Your Soy Candles
Once your soy candles have cooled completely, they are ready for storage or to be gifted. Store them in a cool, dark place until you’re ready to use or package them. If you’re gifting your candles or starting a small business, consider creative packaging using decorative boxes, ribbon, or custom labels to add that personal touch to your candles.
Troubleshooting Common Soy Candle Making Issues
Addressing Common Challenges
Candle making is an art, and sometimes issues may arise. Below is a table outlining common problems and their solutions to help you overcome any hurdles in your candle-making process.
| Problem | Cause | Solution |
|---|---|---|
| Tunneling | Insufficient initial burn time | Ensure your first burn lasts until the wax melts across the entire surface |
| Frosting | Natural occurrence with soy wax | Consider it a unique characteristic of soy, or try a different wax batch |
| Cracks on top | Cooling too fast or pouring wax at too low a temperature | Pour at the right temperature and cool gradually away from drafts |
| Weak scent throw | Insufficient fragrance oil or improper mixing | Increase fragrance oil quantity slightly and ensure thorough mixing |
| Wick not burning | Wrong wick size for container or wax type | Choose the correct wick size, or test different wick types |
Conclusion
Making your own soy candles is a fulfilling DIY project that lets you create beautiful, natural, and personalized items for your home or to give as gifts. It’s a craft that’s both enjoyable and simple once you get the hang of it, and the possibilities for customization are endless. Remember, even if your first few candles aren’t perfect, each candle you make will teach you something new and bring you one step closer to mastering the art of candle making. Enjoy the process, and let your creativity shine with your custom soy candles!
FAQs
Q1: Why choose soy wax over other types of wax for candle making?
A1: Soy wax is a renewable resource that provides cleaner burning with less soot, is biodegradable, and offers a longer burn time compared to paraffin wax.
Q2: How can I prevent my soy candle from tunneling when it burns?
A2: To prevent tunneling, ensure the initial burn lasts until the entire top layer of wax has melted to the edge of the container, setting the stage for an even burn in future uses.
Q3: Can I use essential oils instead of fragrance oils for my soy candles?
A3: Essential oils can be used, but note that they may not be as strong as fragrance oils designed for candles and may offer a more subtle scent.
Q4: How long should I let my soy candles cure before using them?
A4: It’s best to allow your soy candles to cure for at least 1-2 weeks to ensure the best scent throw and burning quality.
Q5: Is it necessary to use a thermometer when melting soy wax?
A5: Yes, using a thermometer helps ensure that you’re melting the wax to the proper temperature, which is essential for safety and for creating a high-quality candle.